
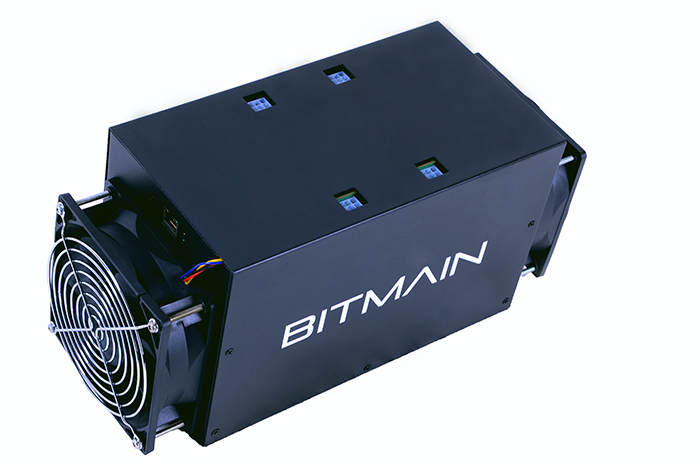
I mine Bitcoins. My favorite company (these days) is BitMain out of China. They ship fast, the quality is great, and I’ve had zero problems with their miners.
If you own an Antminer S1 model, you’ll notice there’s another 4-pin connector at the rear of the unit, so I found a super quality fan and wired it up as a 2nd fan. As you may or may not know, keeping your mining hardware cool is the name of the game.
Let’s get started. You’ll need a few items:
- (4) #8-32×2″ screws (Home Depot, Lowe’s, Ace, etc.)
- Flush cutters (or razor blade, or Dremel, etc)
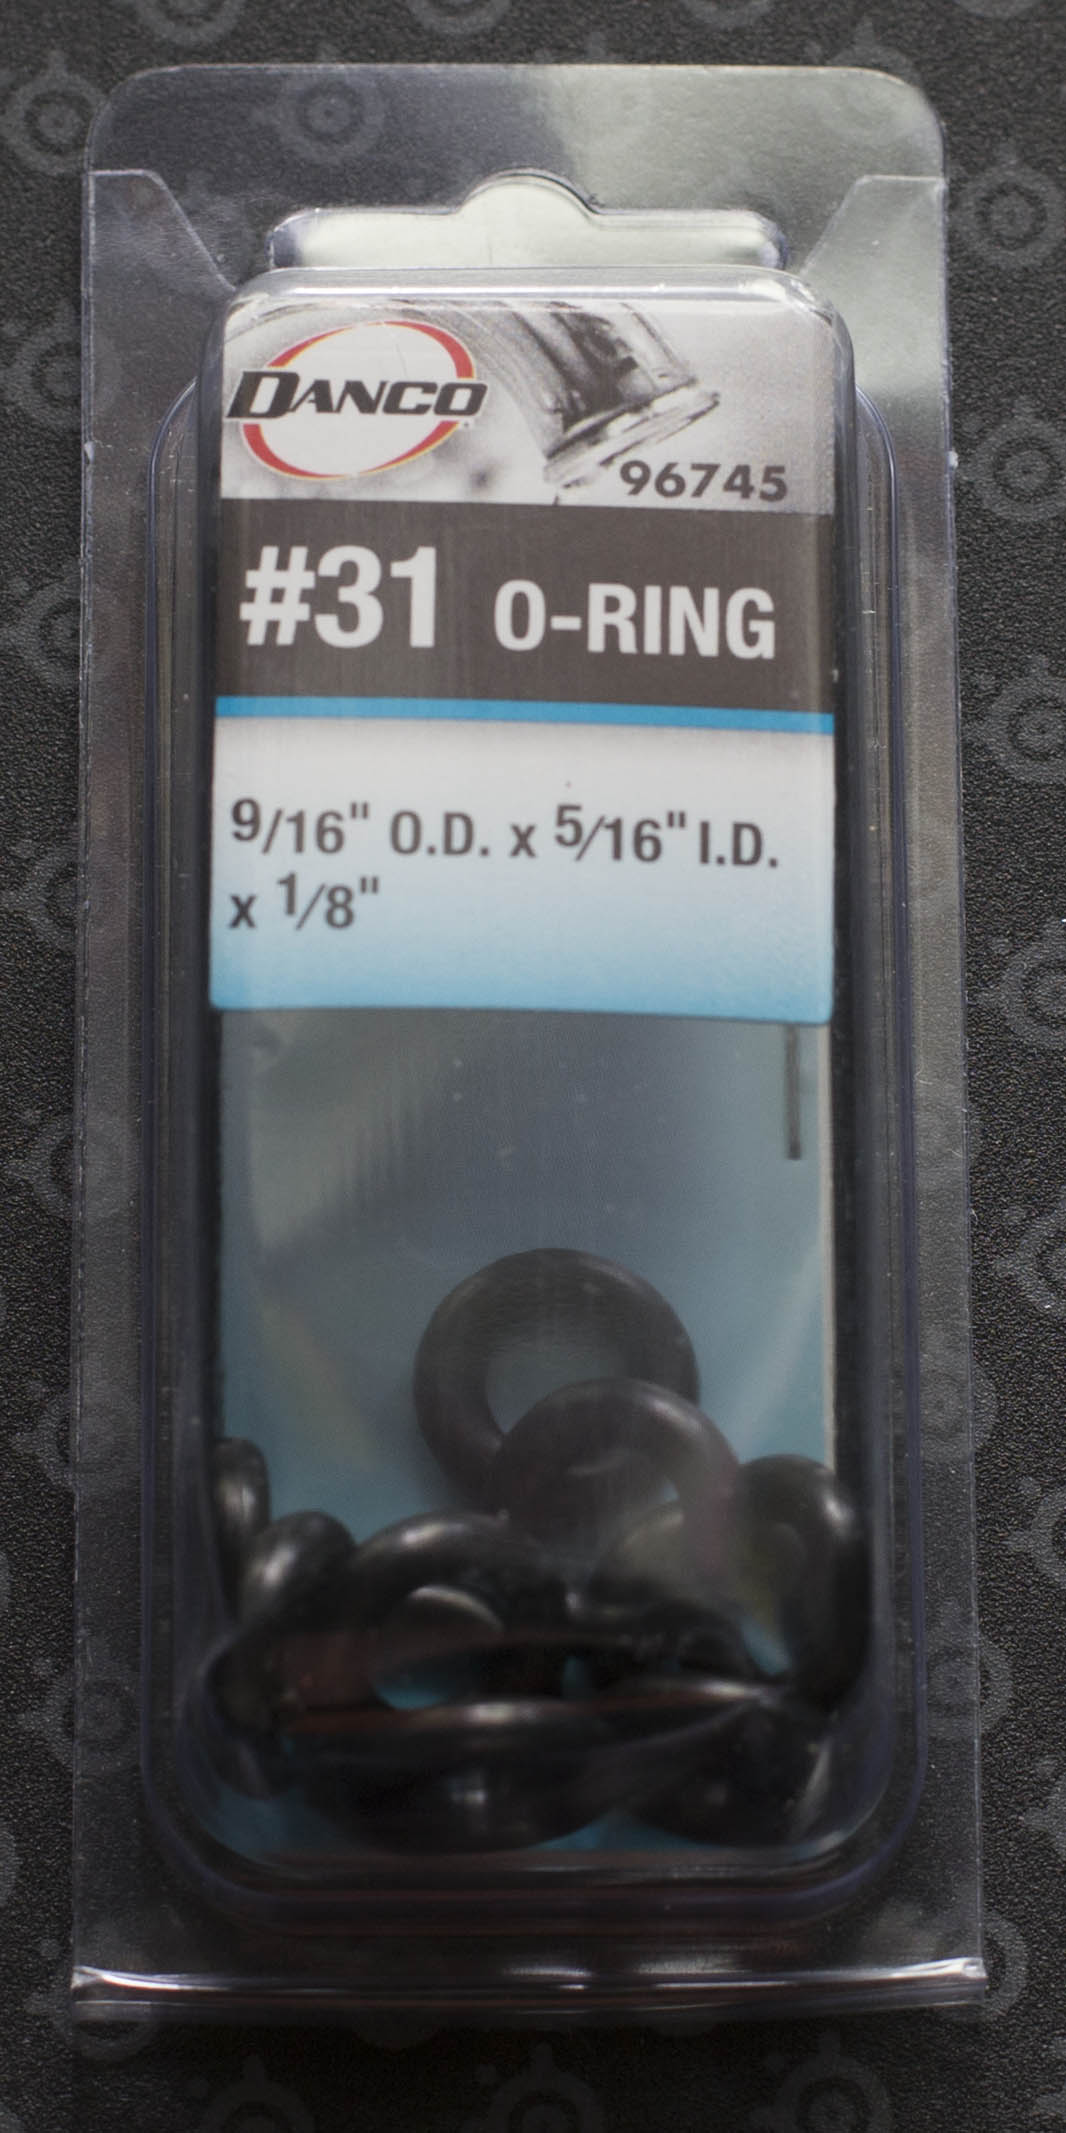
- Rubber O-rings (to dampen vibration, found in sink/faucet repair)
- A Henry F. Philips head screwdriver
- A 120mm x 38mm PWM 4-Pin fan (I used Delta AFB1212VHE) (a 2 or 3 wire non-PWM fan is OK, but will run at its full speed…)
NOTE: If you opt for a 120mm x 25mm fan, the instructions are essentially the same, just use (4) #8-32×1 1/4″ screws.
I chose a fan capable of 4000rpm – a real bad-ass, the Delta AFB1212VHE. It’s pin compatible with the S1 so you don’t have to do anything to it other than trim a little plastic so it will fit on the S1’s 4-pin connector.

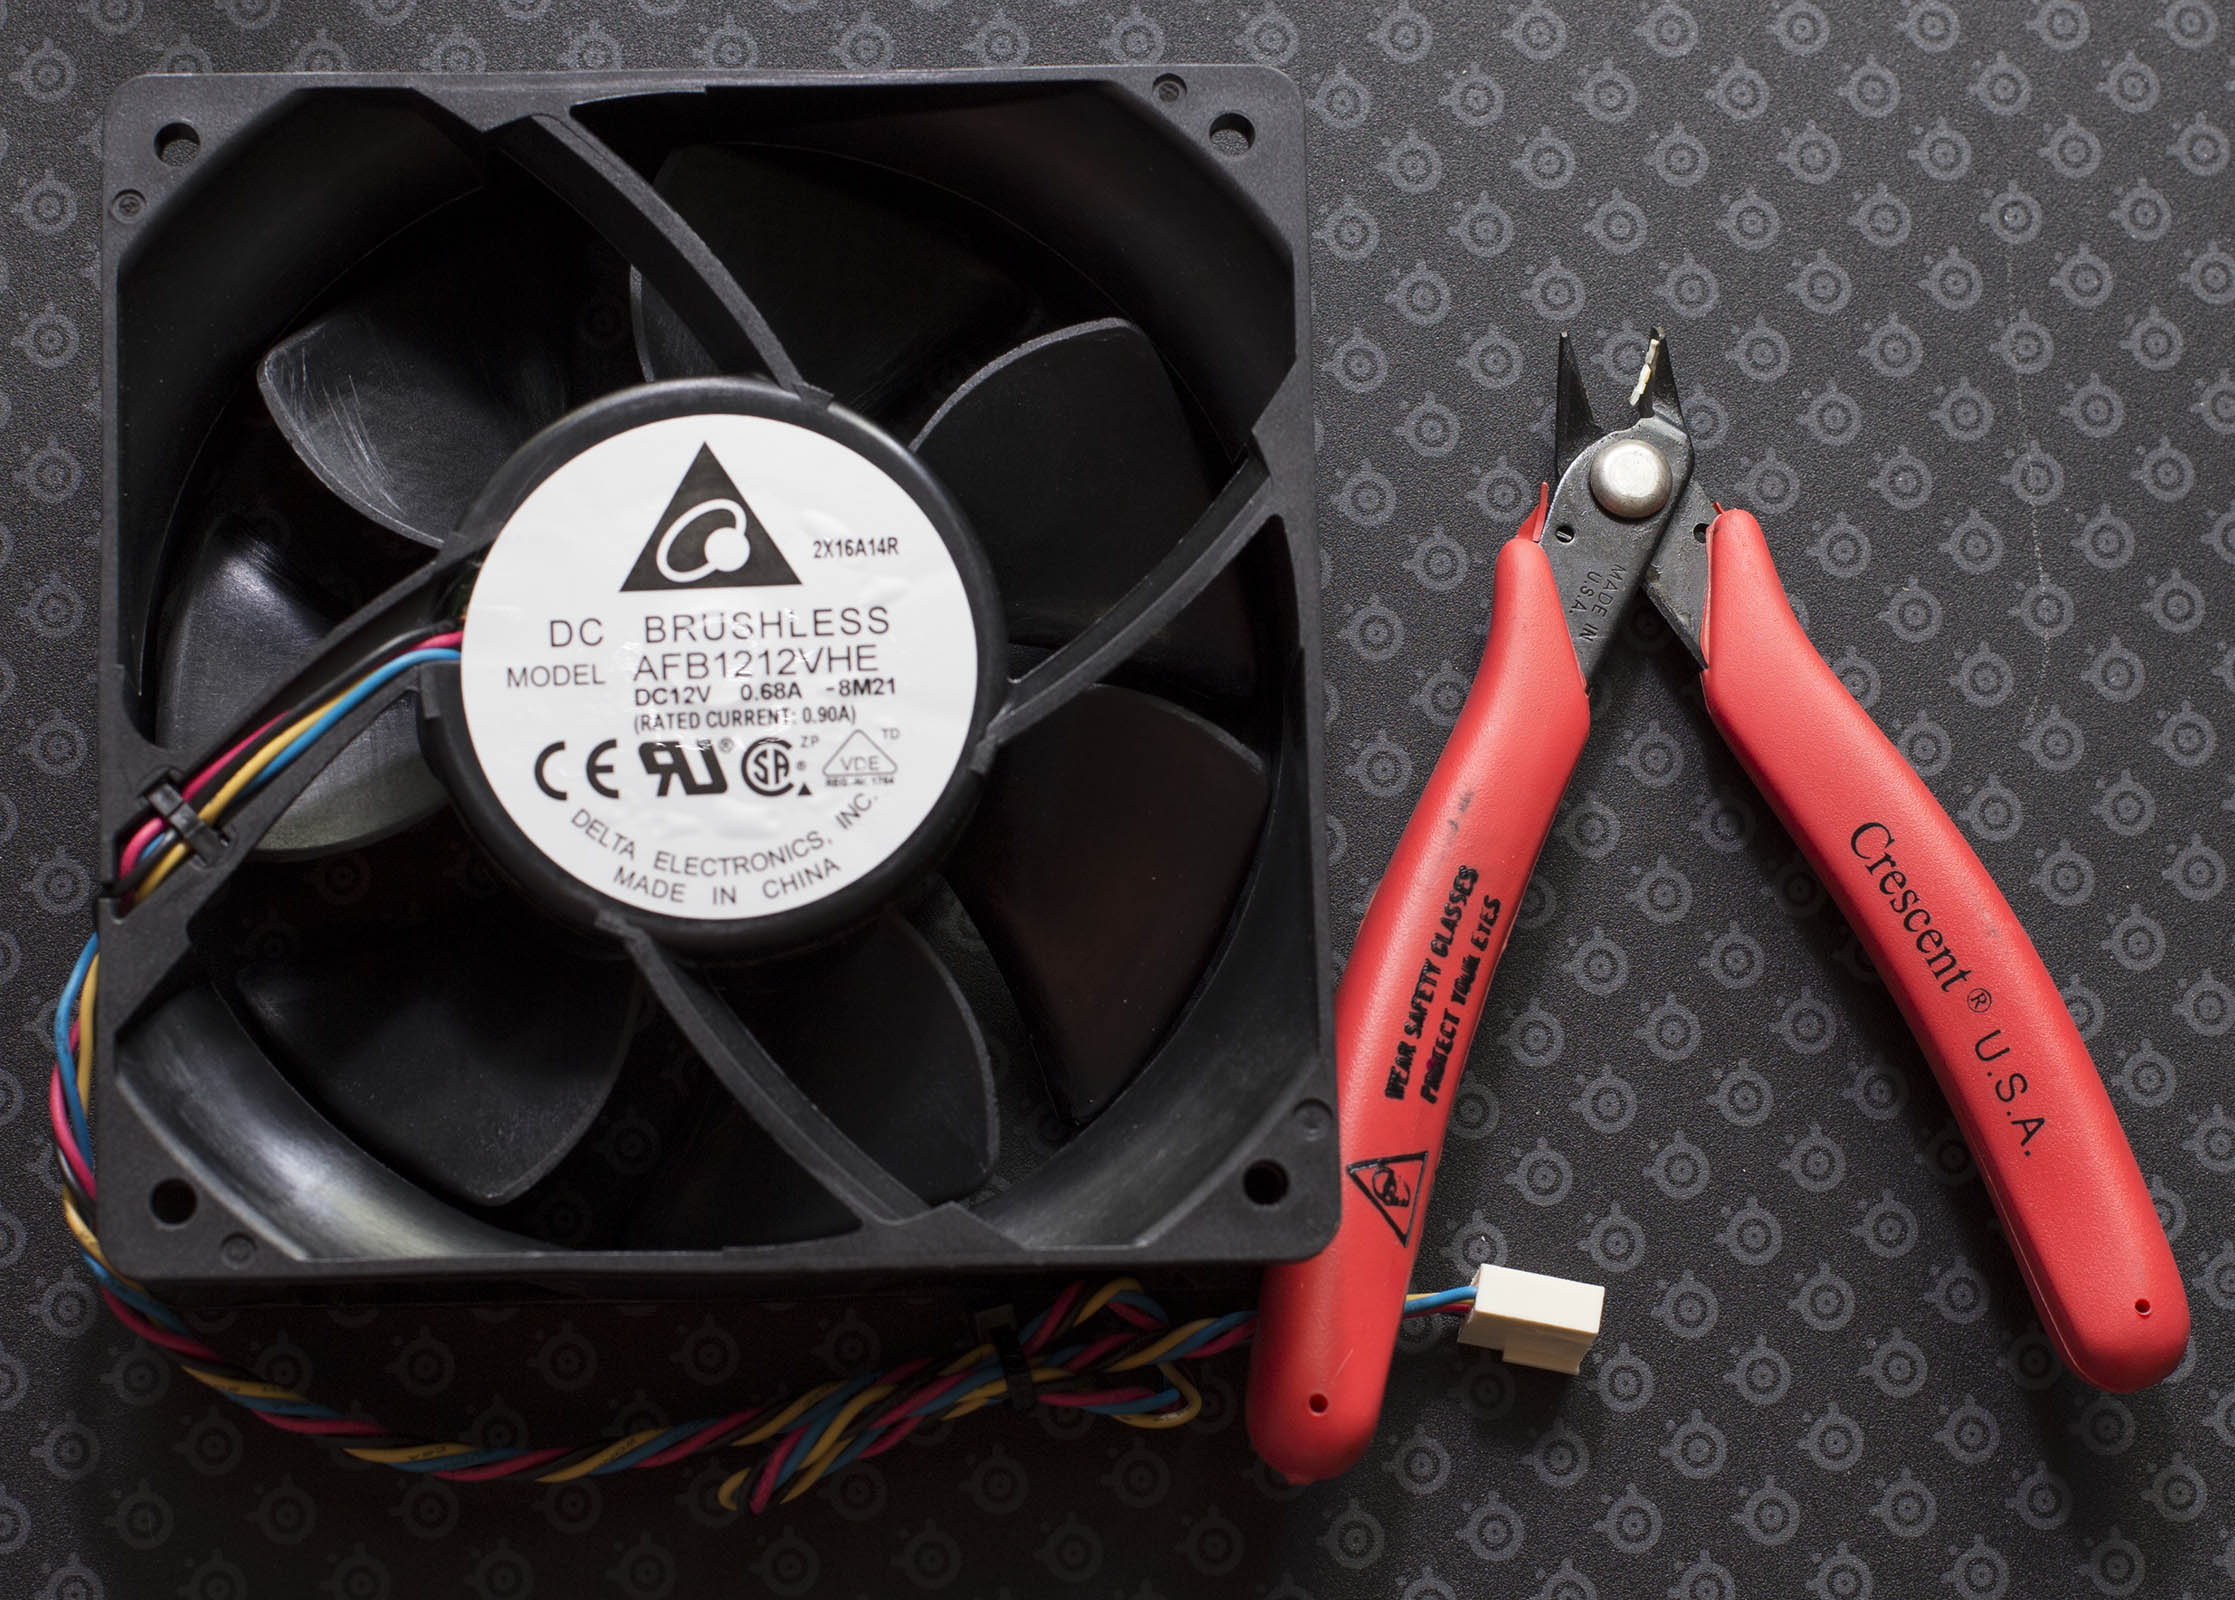
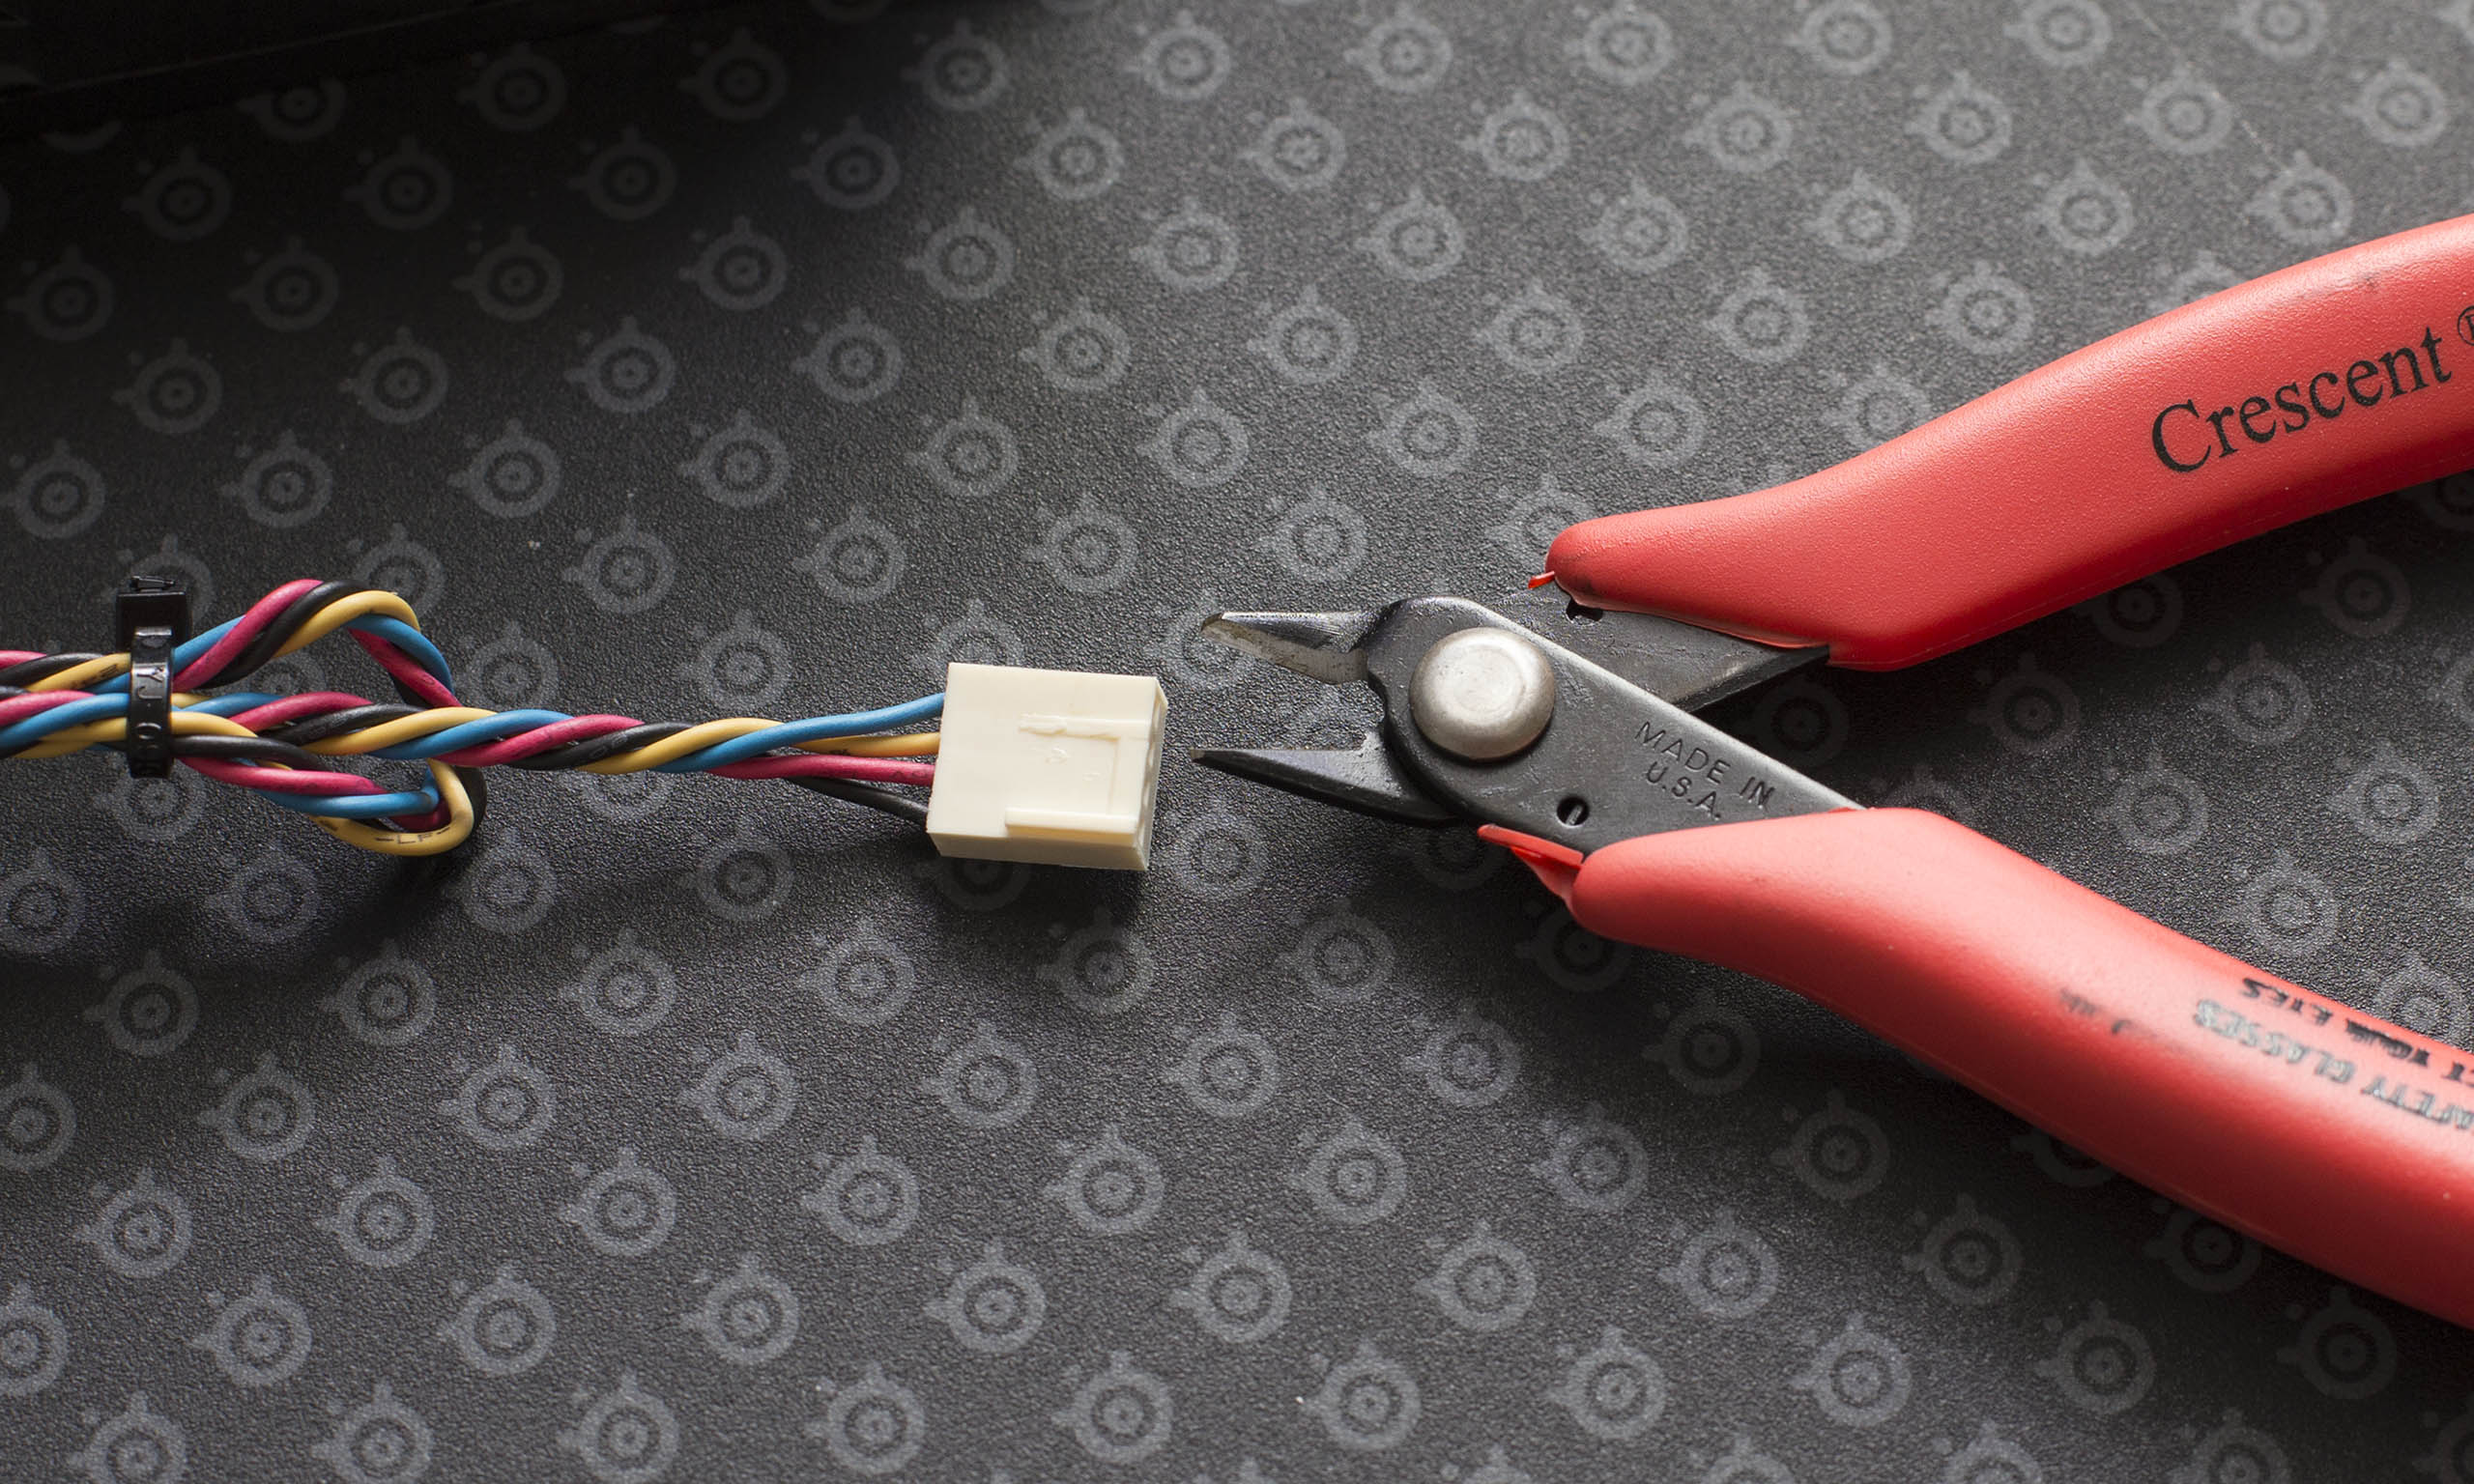
Using the cutters, trim away the tiny ridge on your fan connector (closest to the blue wire).
The O-rings go between the fan and the Antminer, here’s a shot of them installed on the screws:

Next, install the fan onto the Antminer S1. It will have holes in place for the fan, but it will take a little effort to get the screws in as the holes in my S1s have not been pre-threaded.
To make it look nice, leave the bolt nearest the 4-pin connector for last and use it to hold the cable for the fan. When you’re done you’ll have a nice clean installation. Make sure the BLACK wire is closest to the top of the S1:

I e-mailed the guys over at Bitmain to see if they would let me know how to enable the tachometer in their WebUI, and if they get back to me I’ll update the post.
If you want to “hot-rod” your fan to the full 4000rpms (approx. 50dB!) then find a 4-pin PC Molex to case-fan connector like these:
If you end up with the style with the white shroud around the pins, use those trusty cutters to trim that away until you have something that looks like this:

Now, connect that to a PC-style power supply’s 4-pin Molex power connector and that fan will run full steam ahead at 4000rpm. Make ABSOLUTELY sure that the BLACK and RED wires line up!

On my Antminers using the onboard connector is more than sufficient to run overclocked without any overheating issues. Both sensors usually stay around 42C (107F). The “hot-rod” mod will drop both temps by around 4 degrees C (usually around 38C/100F) on my Antminer S1s.
Enjoy!
Update: Check out the new Antminer S3 – looks to be based on the S1 chassis, and … there’s the 2nd fan and an actual enclosure, which mimicked the ‘shroud’ I build around my miners. Nice!
11 comments for “Bitmaintech.com – Adding a Second Fan to an Antminer S1”