You will need:
- (2) USB Thumb Drives / Keys
- Narrow and thin or they won’t all fit! (I really like these Kingston drives…)
- One 2GB or larger
- One 8GB or larger
- USB keyboard
- Big Tony’s PokerKard hardware (properly installed in the Big Tony’s PokerKard cabinet)
- Proper BIOS Settings for the PC (BIOS settings are below the images)
- Big Tony’s PokerKard – Hard Drive CloneZilla image: btpk_hard_drive_clonezilla
- Extract the zip file to a folder, copy the *folder* to the 8GB key
- Big Tony’s PokerKard – USB Dongle “dd” Image: btpk_usb_dongle_dd
- Extract the zip file and copy the btpk_usb_dongle.dd *file* to the 8GB key
- CloneZilla i686 ISO (must be i686 edition as CPU in this game is not x64 compatible)
- Image your 2GB or larger USB key with the CloneZilla ISO image
- Windows – Rufus
- Linux – USB Image Writer, Disk Image Writer
- Mac – Unknown (help?)
- Image your 2GB or larger USB key with the CloneZilla ISO image
Ok, so technically the hardware is irrelevant as far as this tutorial goes. You can connect the PokerKard USB dongle and hard drive to any PC and run this same procedure. If you use a laptop, I’d recommend connecting physical hard drives using a Plugable USB 3.0 docking station.
General Overview:
We’re using one USB key to boot CloneZilla. The other USB key stores the images/files that need to be applied to the Big Tony hardware (USB dongle and hard drive). It’s good to use different sized (or make/model) thumb drives as it’s easier to tell them apart (otherwise both show up as same size, same name). Once we’ve booted into CloneZilla, we’ll image the hard drive first, then use “dd” from the command line to image the USB dongle. As long as you have fully functional T4 USA hardware and follow this tutorial you will have a working game after this process. Instructions will come below each image.
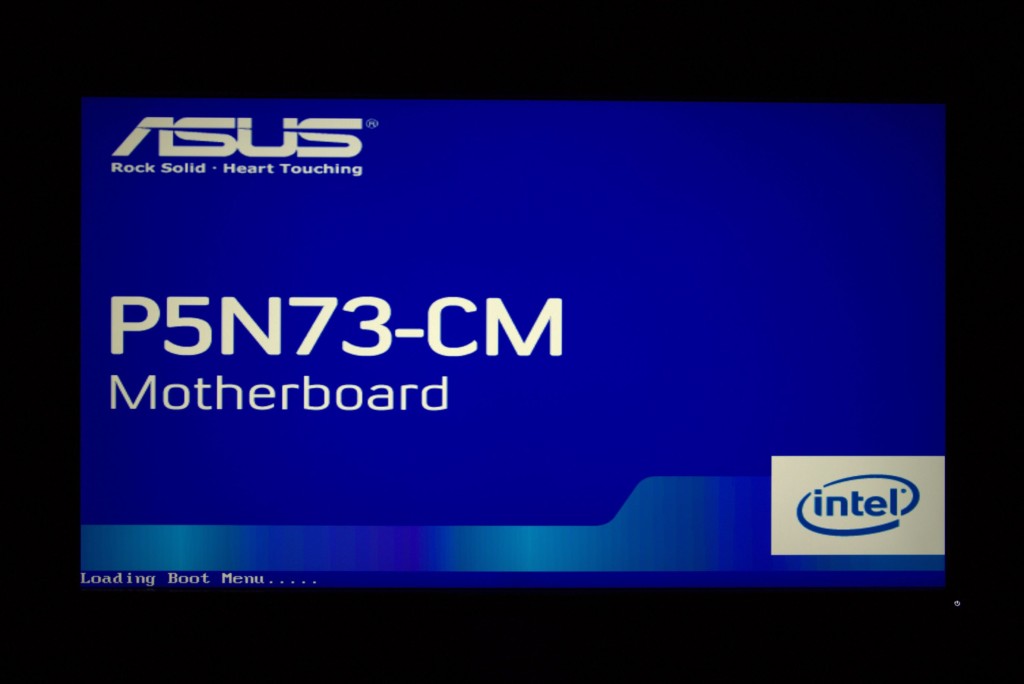
Power up the game, press F8 to enter the Boot Menu…
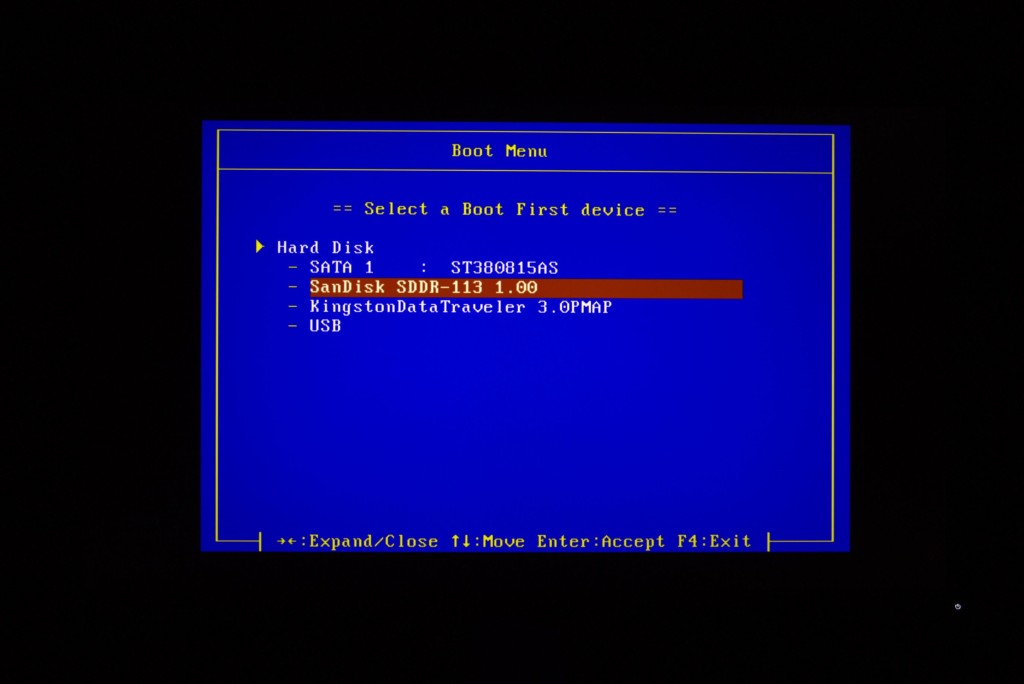
Select the drive with the CloneZilla image. Mine is the SanDisk.
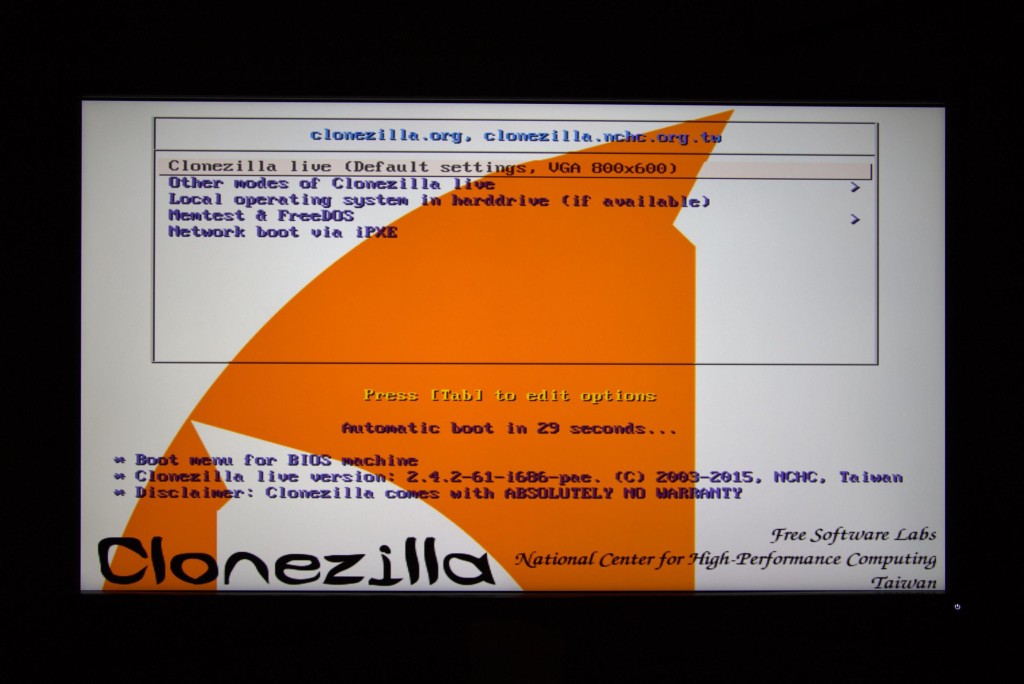
Your PC should quickly boot into CloneZilla’s initial menu. Press ‘enter’ to select CloneZilla live. Be patient, this PC is slow and will take around 5 minutes to fully boot up.
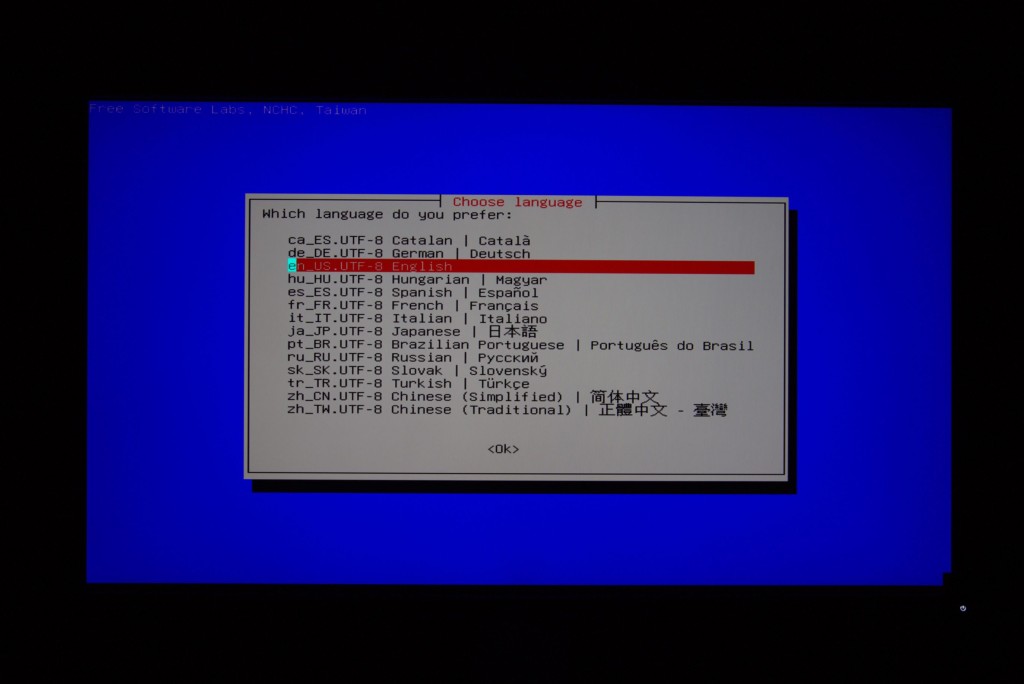
Select your preferred language and press ‘enter’.
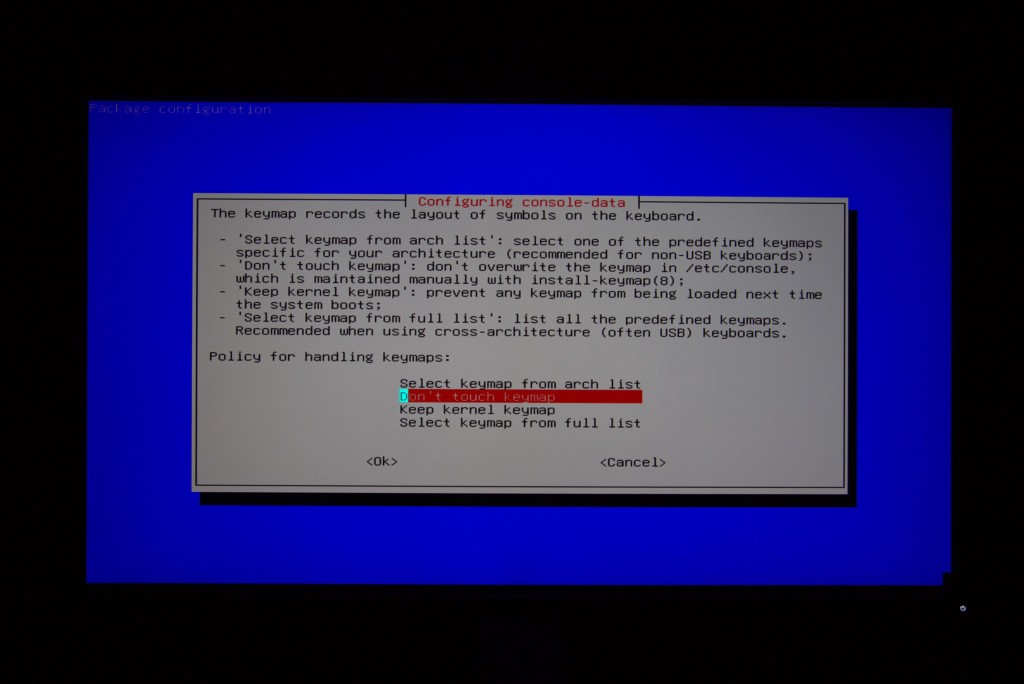
Select “Don’t Touch Keymap.”
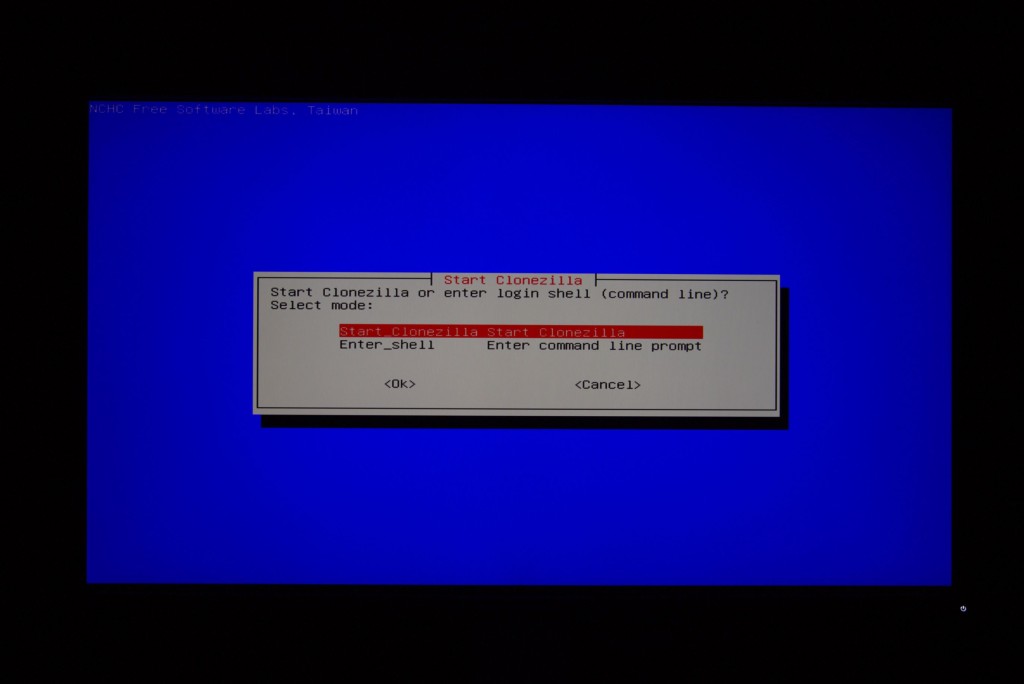
Select “Start Clonezilla”
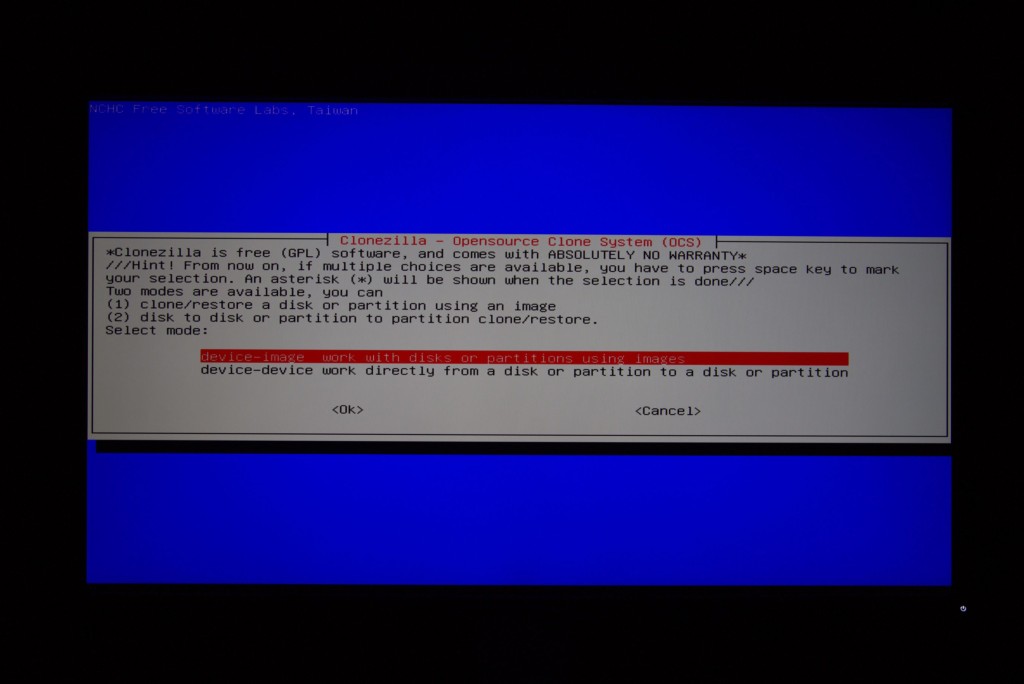
Select “device-image: work directly with disks or partitions using images.”
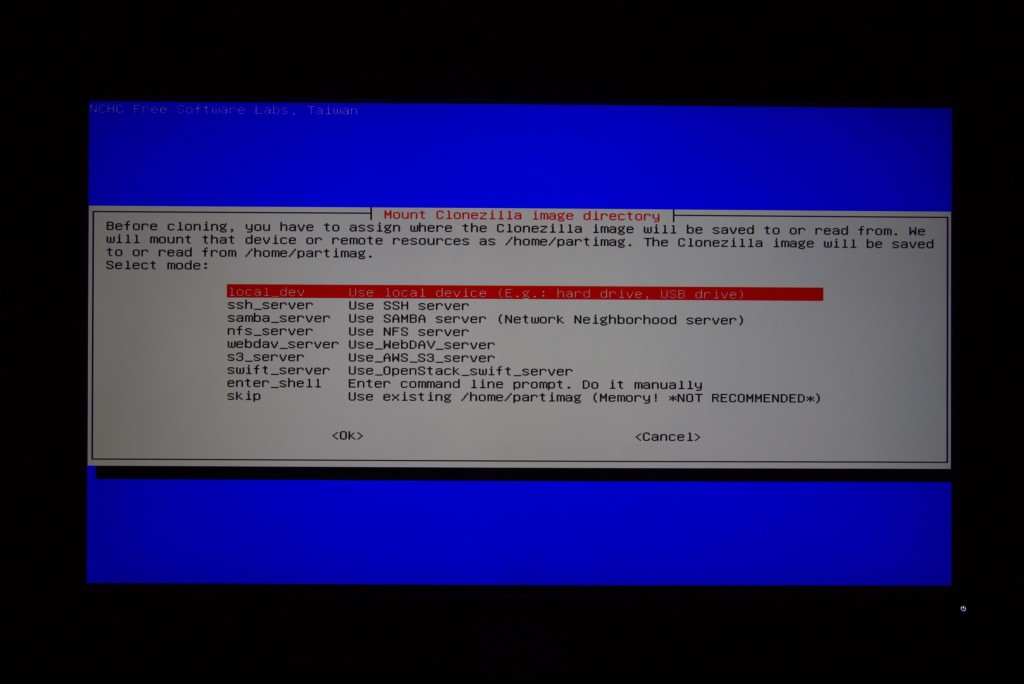
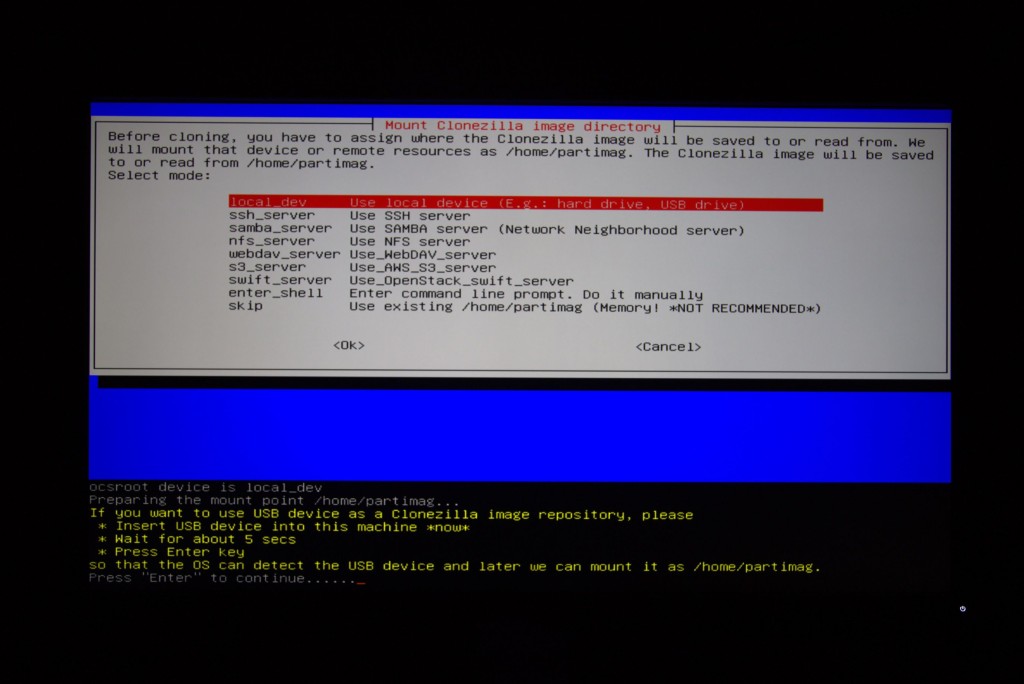
Select “local_dev: use local device.”
If your USB drives are connected, press ‘enter,’ otherwise connect your drives and then press ‘enter’.
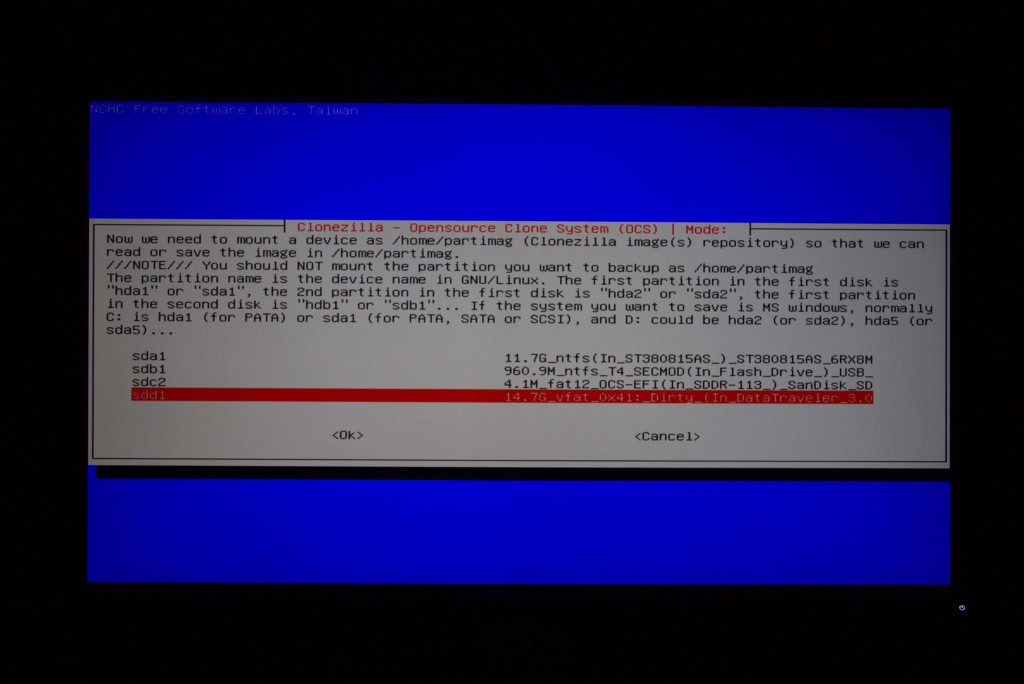
I put my image and dd files on a 16GB Data Traveler, so I will select that device from this menu.
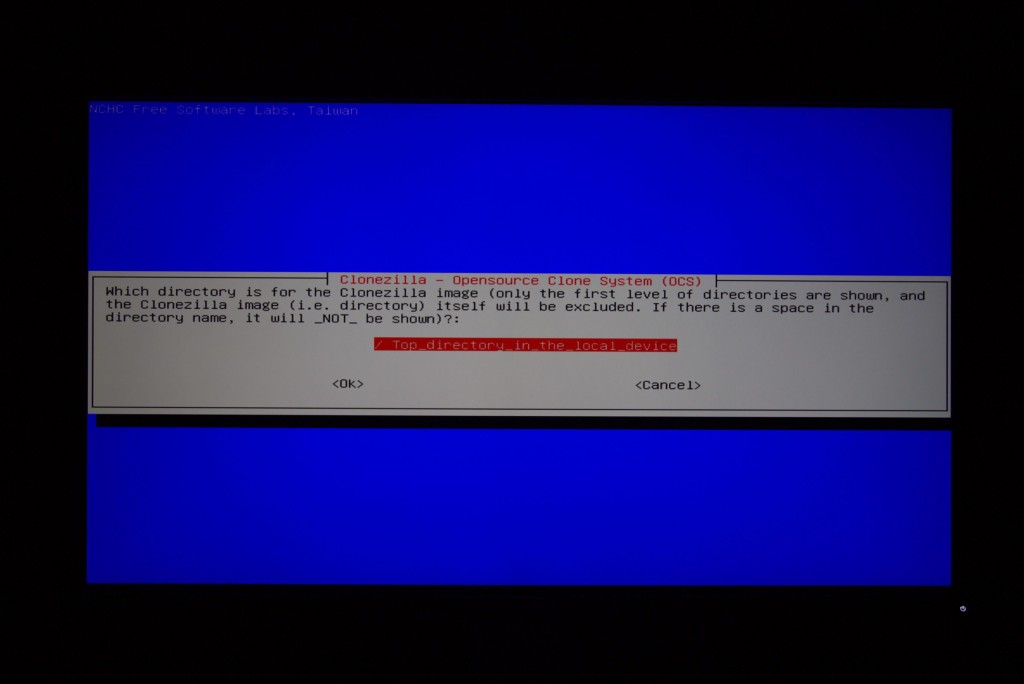
Select “top directory in the local device.”
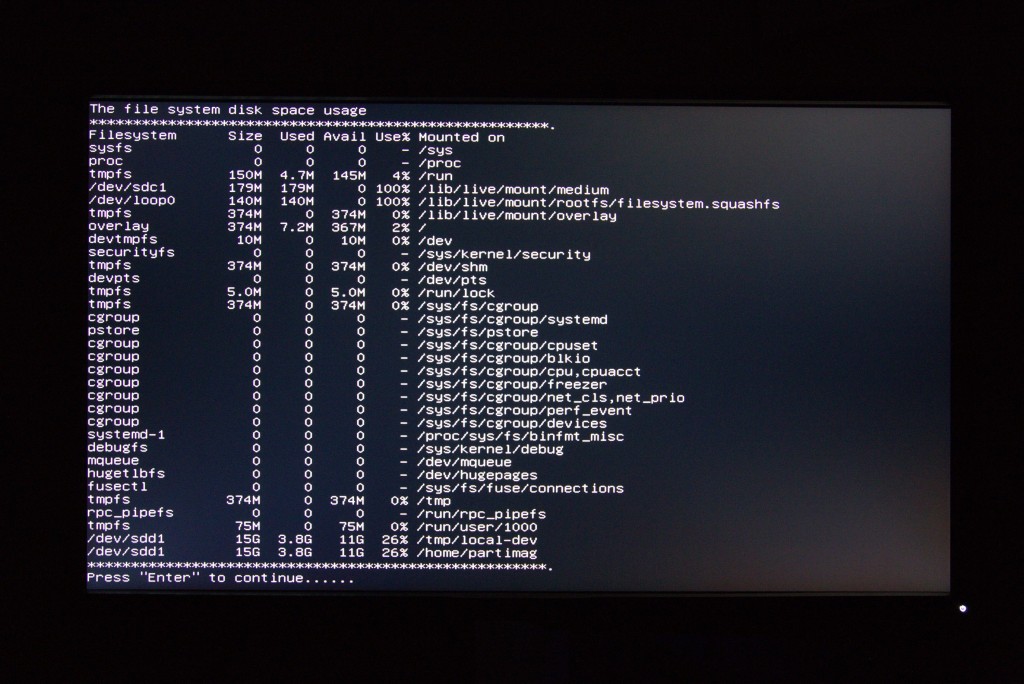
CloneZilla presents data regarding the filesystem – nothing to do here, press ‘enter.’
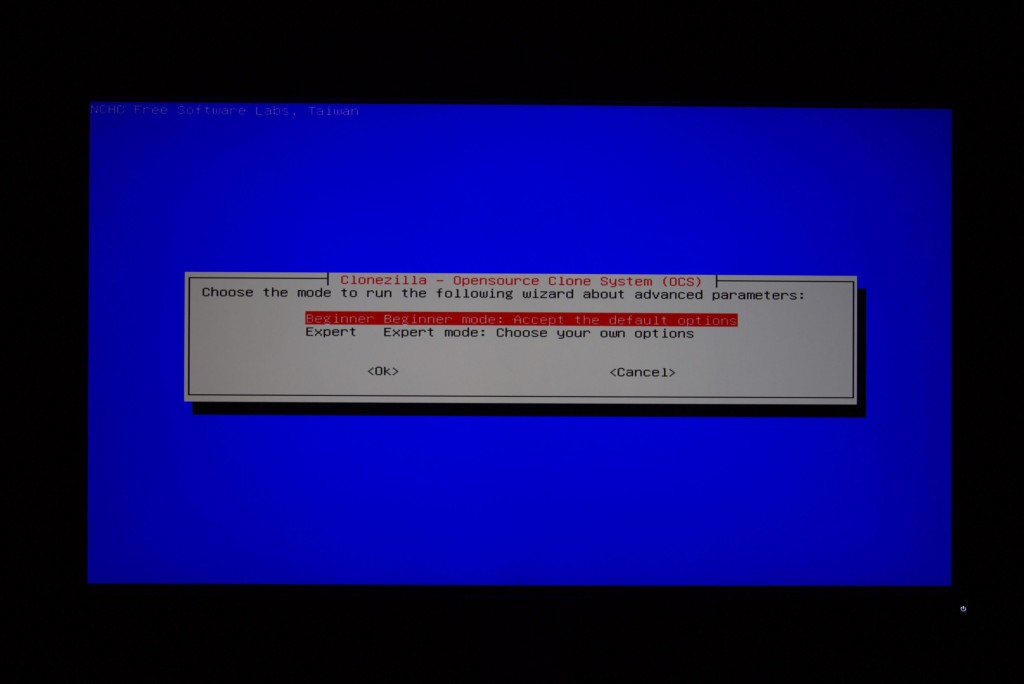
Select “Beginner Mode.”
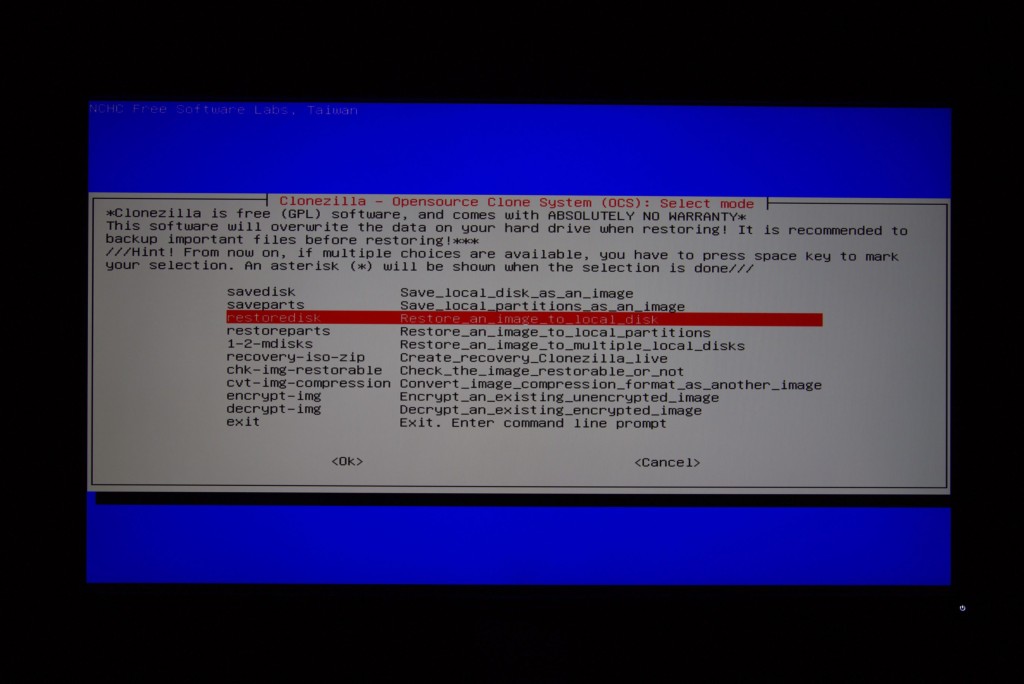
Select “restoredisk: Restore an image to local disk.”
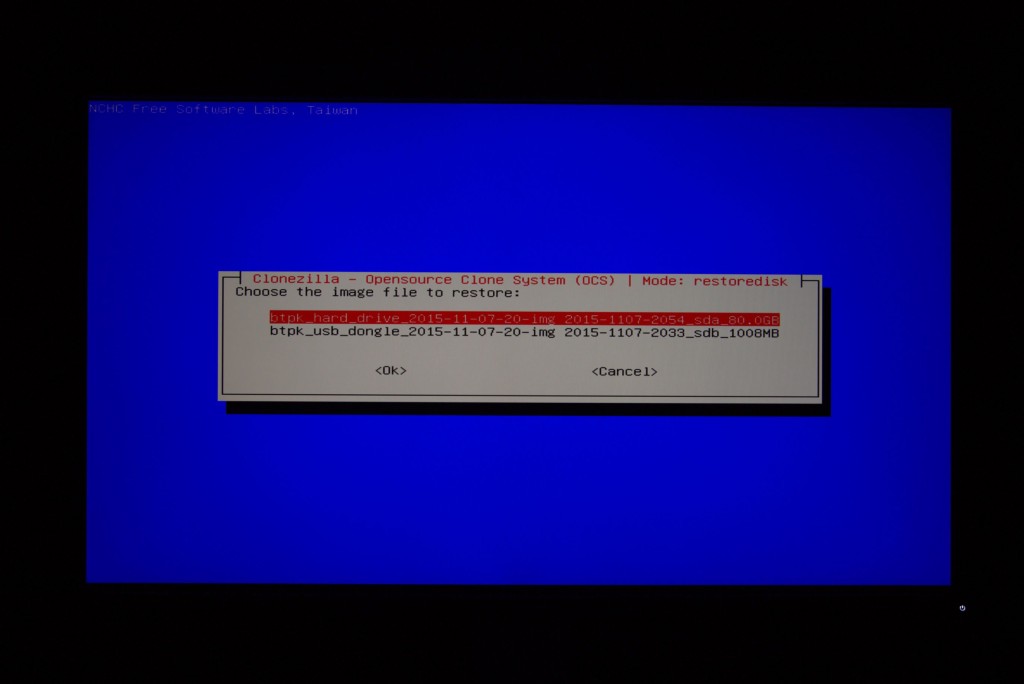
Select the source image to deploy – here we’re restoring the “btpk_hard_drive” image.
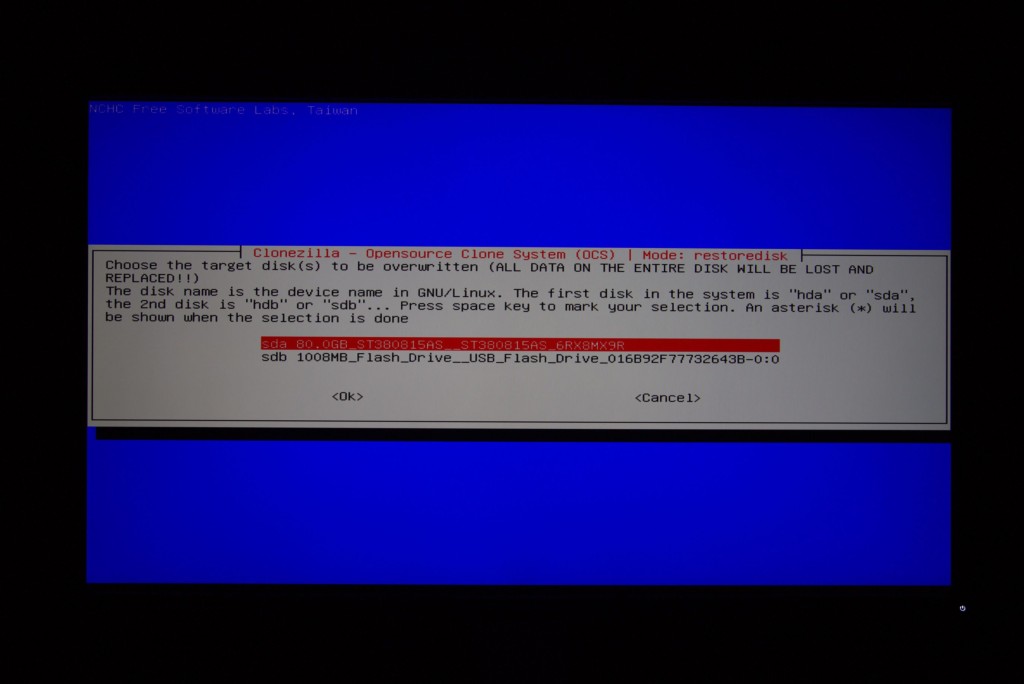
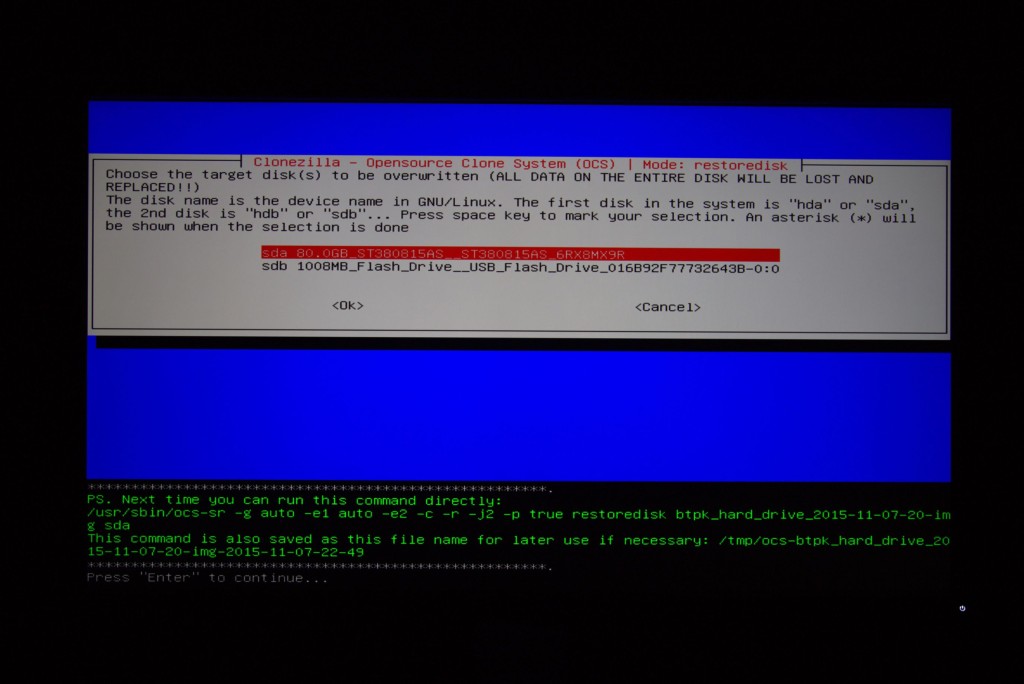
Select the device to restore the image to. Here we want to deploy to the 80GB internal hard drive.
CloneZilla tells you the exact command it will run to perform the operation. Nothing to do here…
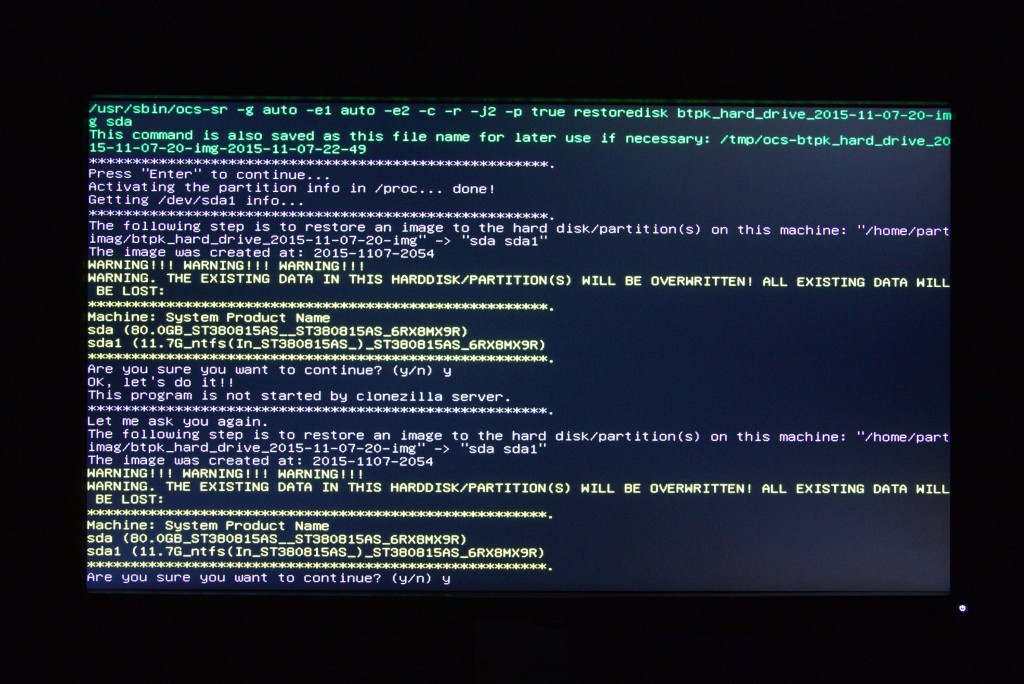
CloneZilla won’t let you wipe out your target device without answering “y” at the confirmation prompt.
Data is important. CloneZilla requires you to answer “y” at the confirmation prompt again.
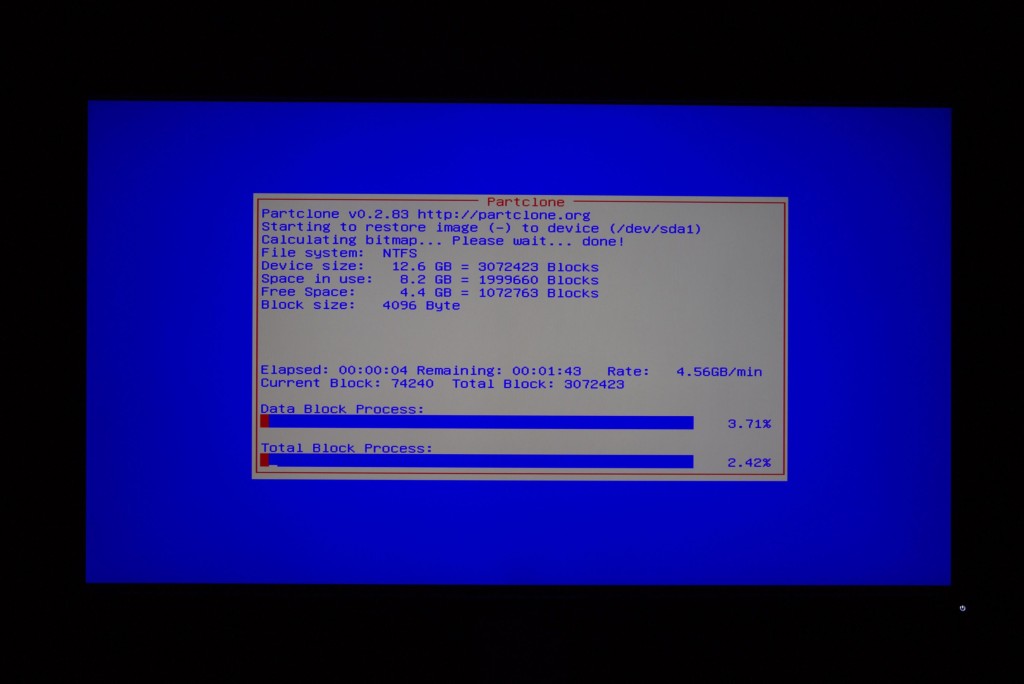
You should now see Partclone working away, deploying the image from your USB key to the internal hard drive.
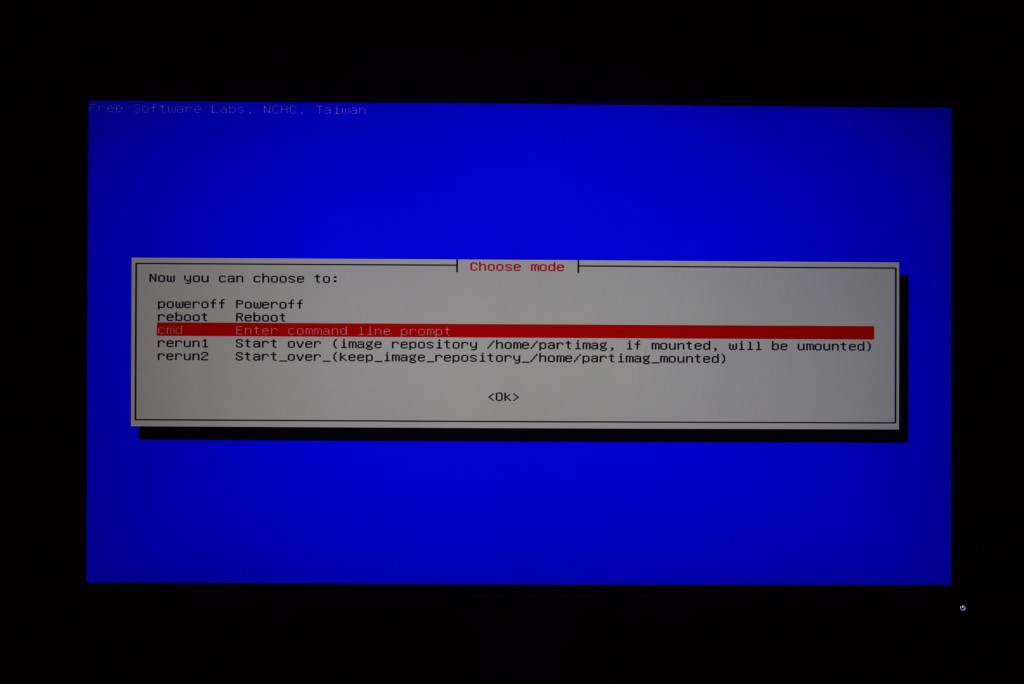
When complete, it looks like this. Press “enter” to continue…
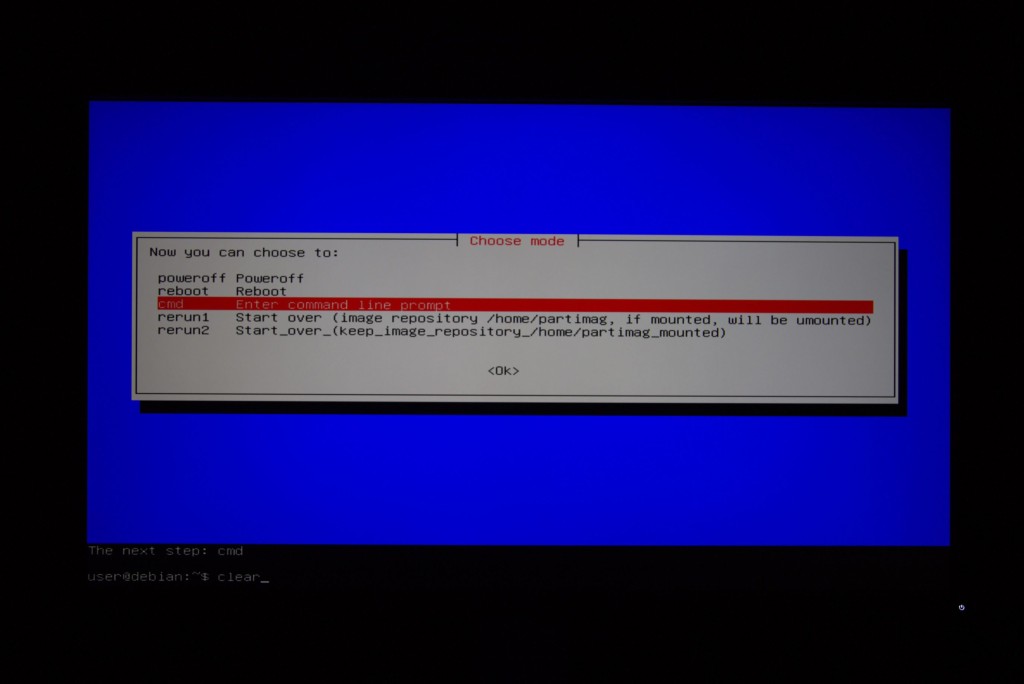
Next, we are going to image the USB dongle using ‘dd’ from the command line. Select “cmd.”
You will drop to a command line below the blue window. Type “clear” to get rid of that.
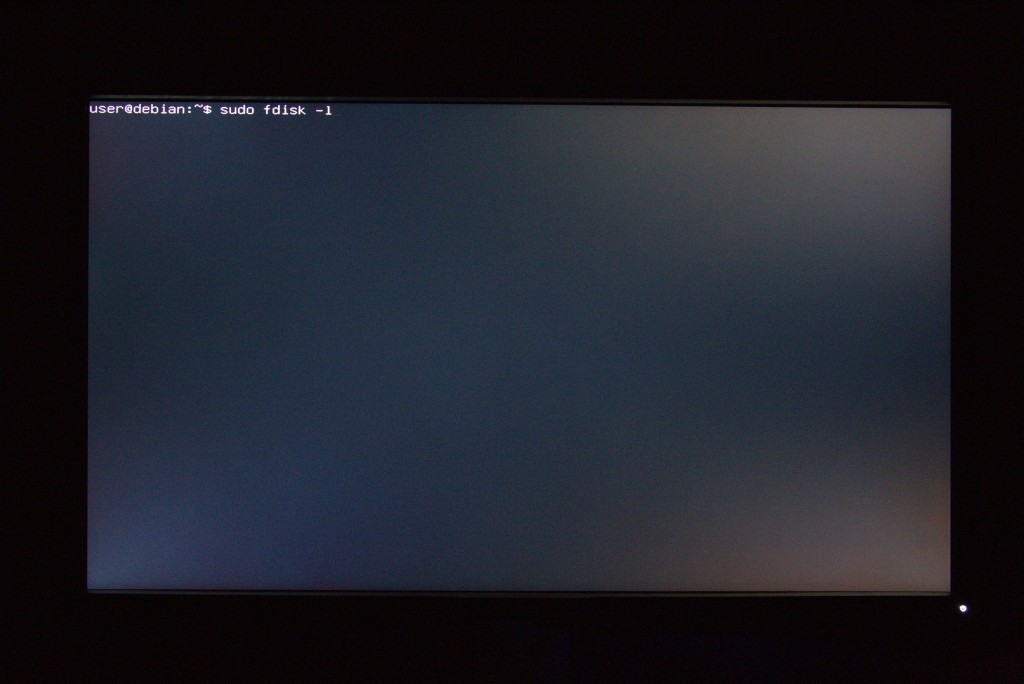
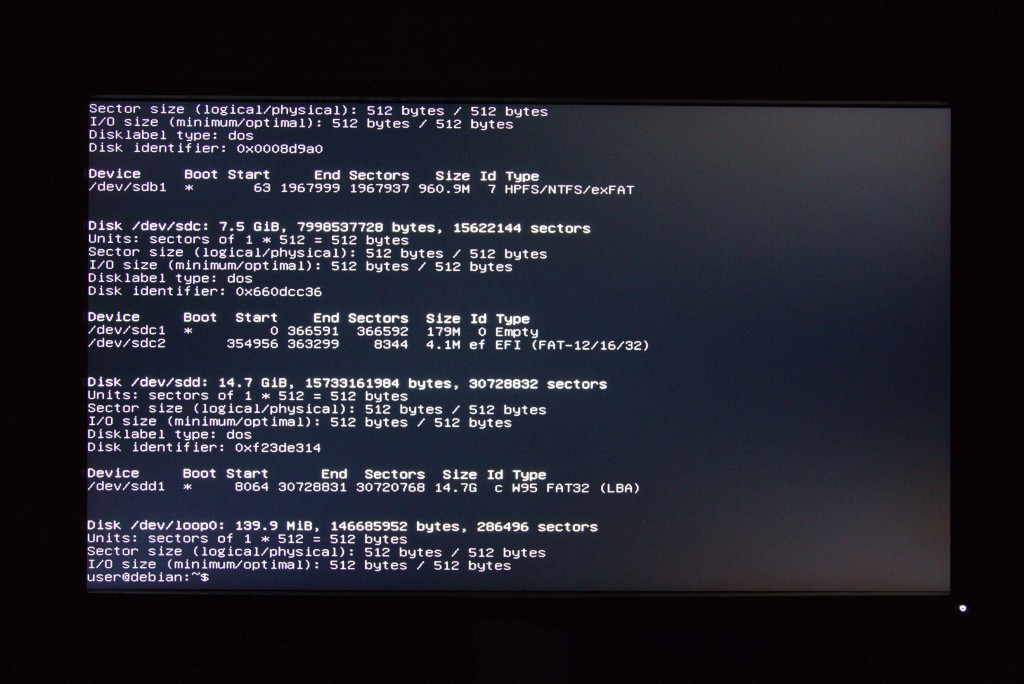
Type “sudo fdisk -l” and press enter. This lists all of the storage devices connected to the system. We’re looking for our 1GB security dongle.
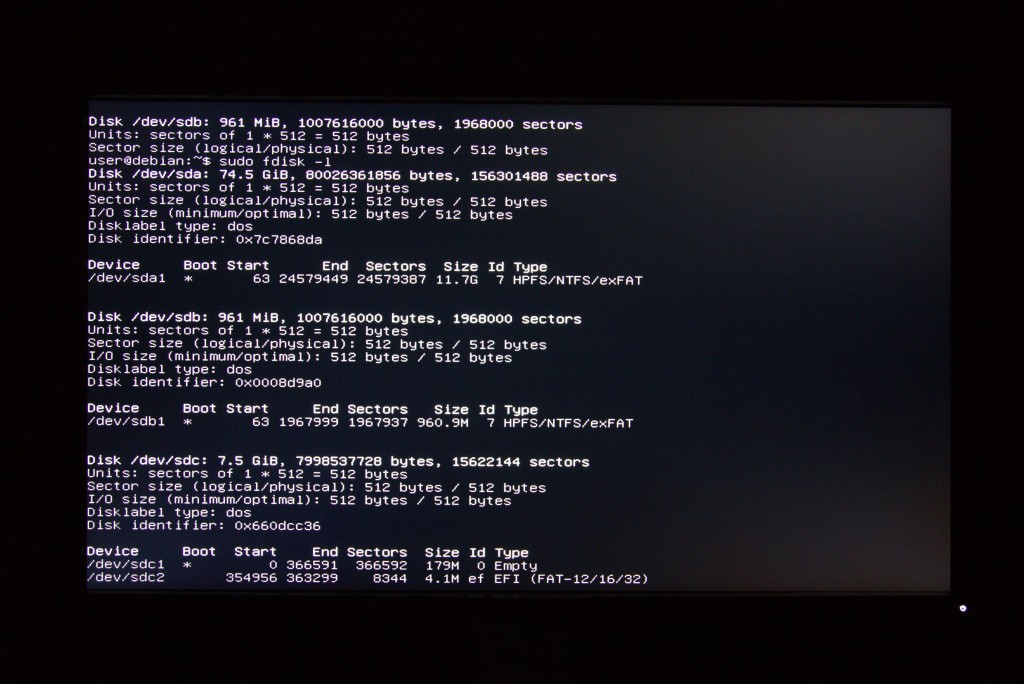
You want to find the device that’s around 960MB. That looks like it at /dev/sdb1 – but that’s a partition (ends in a number), not the actual device. Hold down shift and press the ‘page up’ key.
Here we see “Disk /dev/sdb 961MB” – that’s our 1GB USB dongle. Write down your disk name now (mine is “/dev/sdb”).
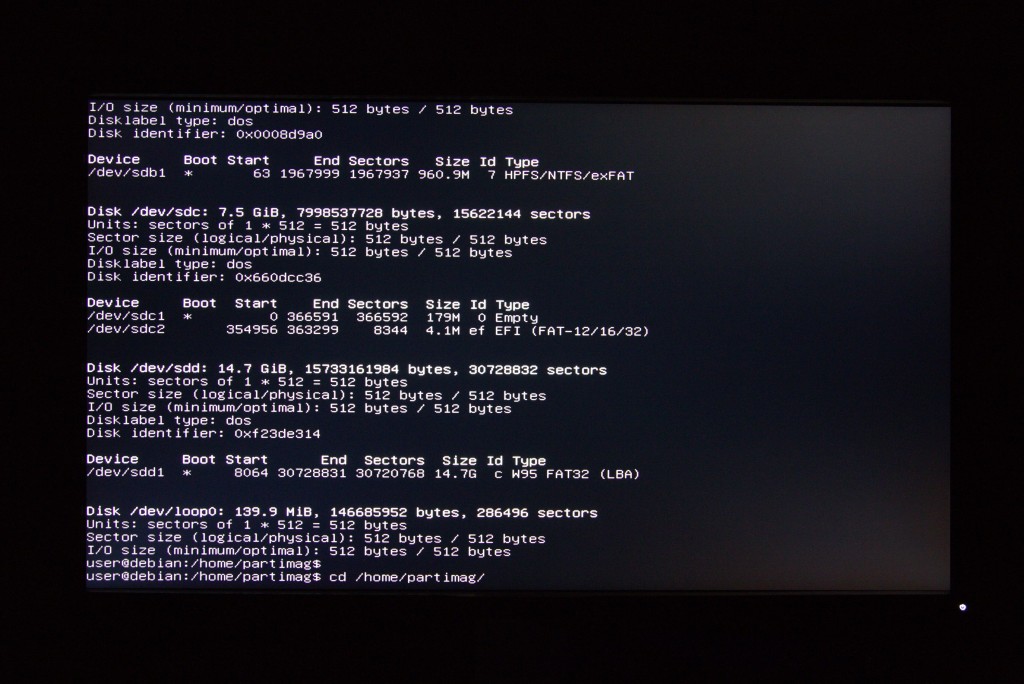
Type “cd /home/partimag/” and press enter. This is the directory where our btpk_usb_dongle.dd file should be located.
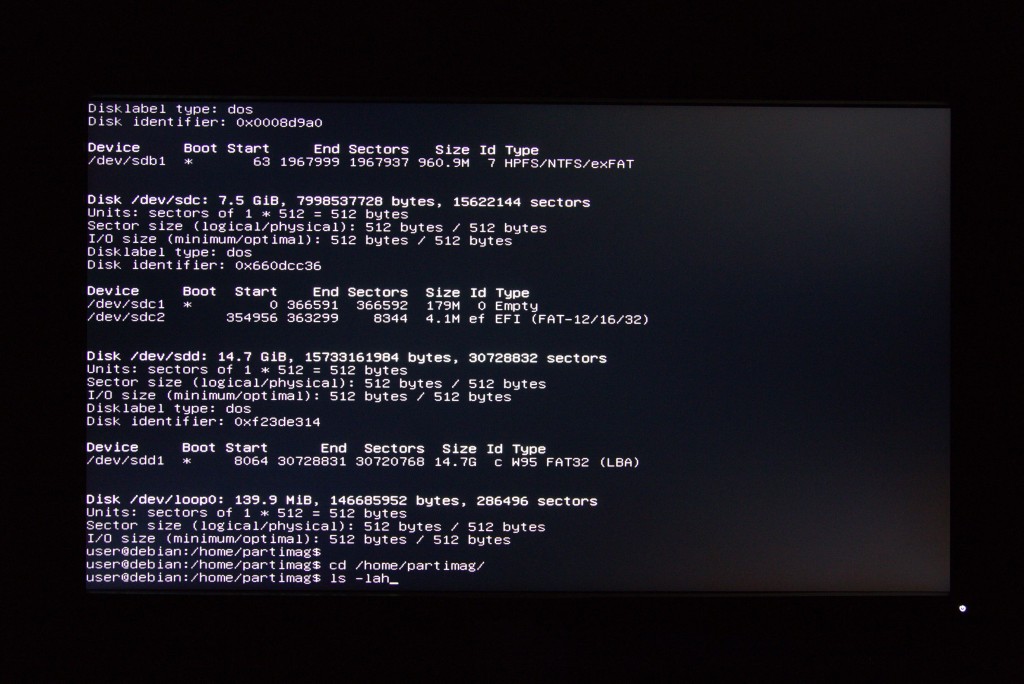
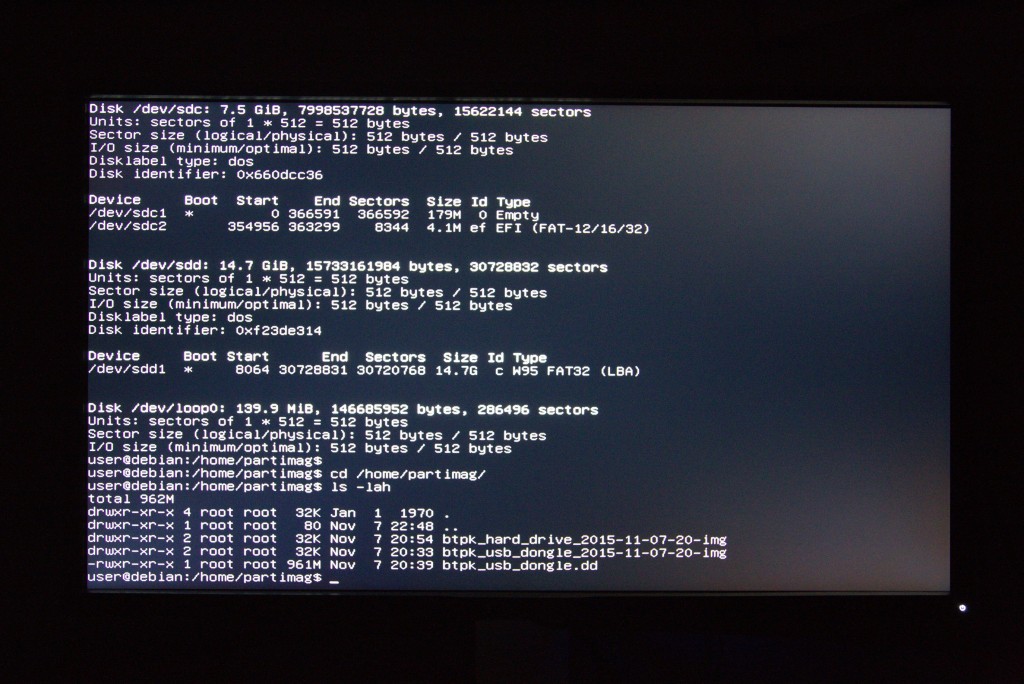
Type “ls -lah” to see a directory listing of the files.
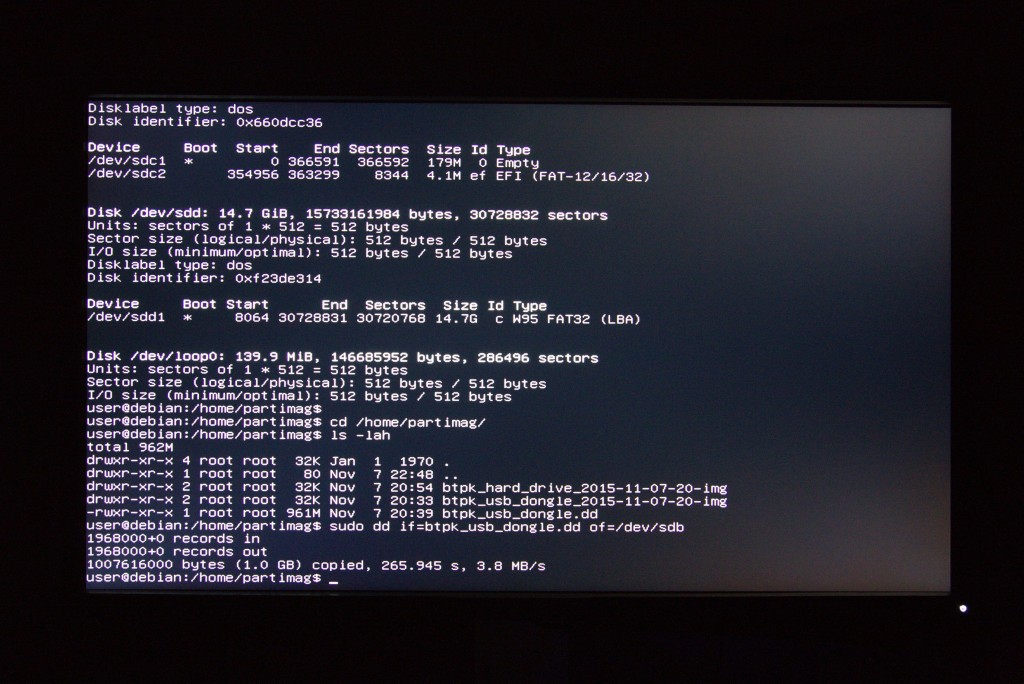
Our “btpk_usb_dongle.dd” file is there – we’re ready to write the image.
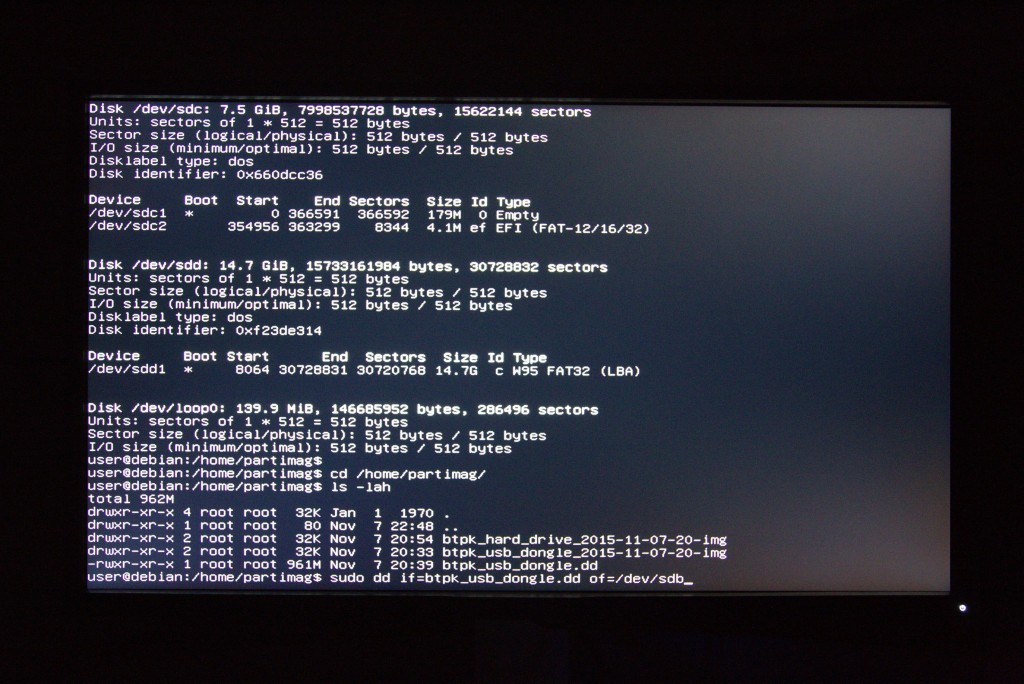
Type “sudo dd if=btpk_usb_dongle.dd of=/dev/sdb” and press enter. NOTE: Substitute your device name if it is not /dev/sdb!
DD does *not* show progress while working, so be patient – it takes about 5 minutes to write 1GB of data to the USB dongle.
When complete, it should state that it wrote 1GB of data, the time, and average write speed.
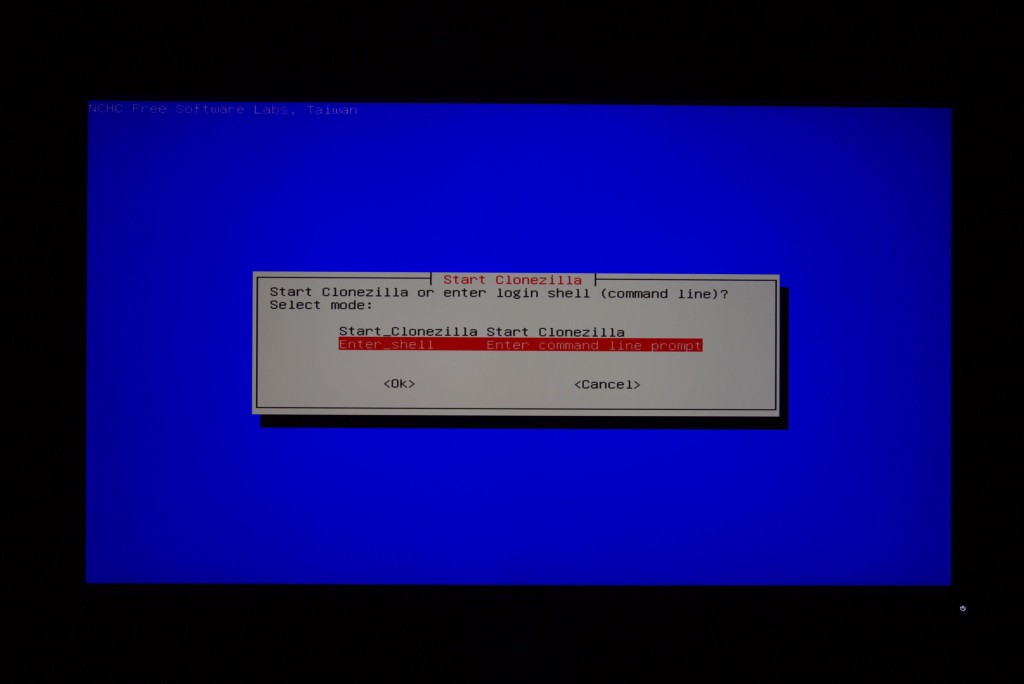
Type “exit” so that we can get back into the CloneZilla menus.
Select “Enter shell: Enter command line prompt.”
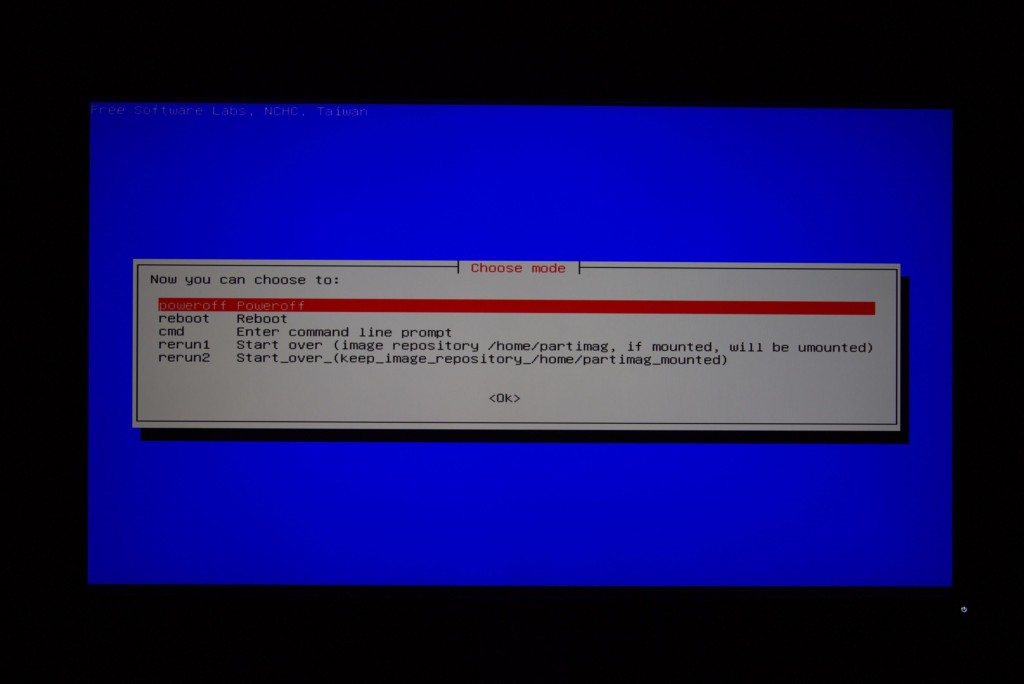
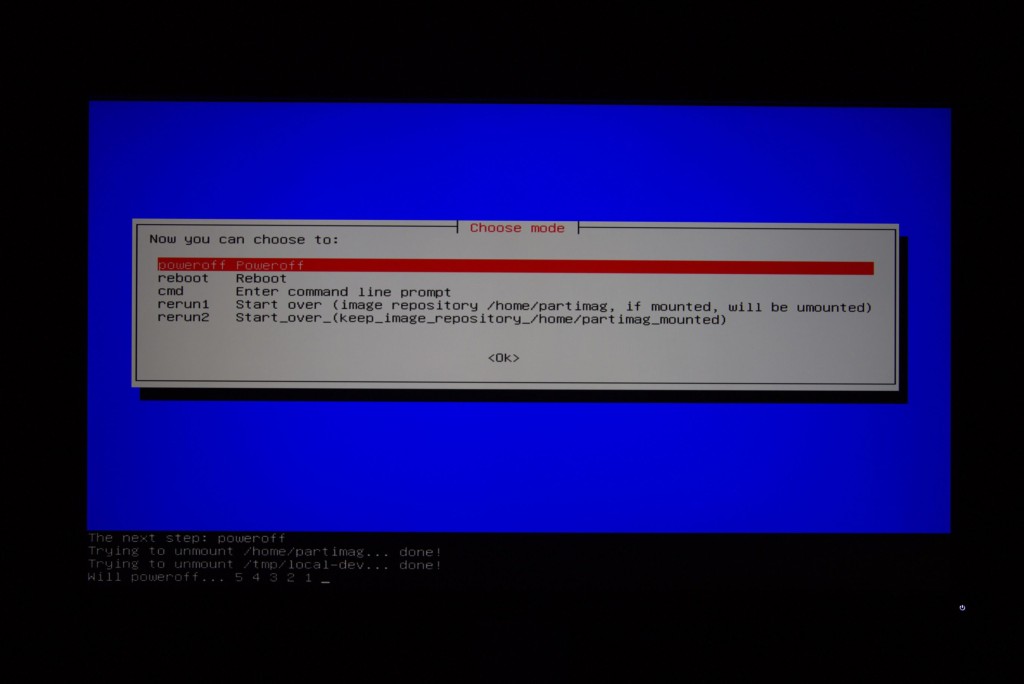
Select “poweroff.”
After a 5 second countdown, the PC will shut down.
Congrats! Remove your USB keys and power up – you should now have a working Big Tony’s PokerKard game.
Miscellaneous + Q&A:
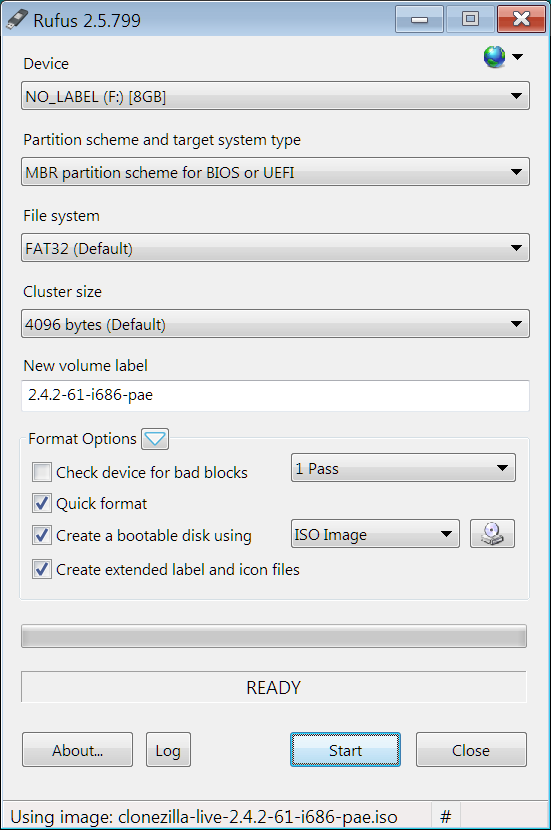
Rufus: You only have to select your USB device and the ISO image.
Device – Set to the USB key you want the image applied to.
Create a bootable disk using: ISO Image (Use the icon to browse)
Should look like this:




1 comment for “Big Tony’s PokerKard – Model T4 USA – Restoring CloneZilla and dd Drive Images…”